Microchip MPLAB-X - Integration on Windows
Contents
- 1 Synopsys
- 2 Prerequisites
- 3 MPLAB-X IDE User Makefile Project
- 4 MPLAB-X IDE Standalone Project
- 4.1 Project Creation
- 4.2 Device Selection
- 4.3 Tool Selection
- 4.4 Compiler Selection
- 4.5 Project Name and Folder
- 4.6 ERIKA v3 Scripts
- 4.7 ERIKA v3 Application
- 4.8 ERIKA ve Pull
- 4.9 Application Source Files
- 4.10 Application Configuration Source File
- 4.11 ERIKA v3 Source Files
- 4.12 ERIKA v3 Include Files
- 4.13 Project Build
- 4.14 Project Debug
- 5 Additional Notes
Synopsys
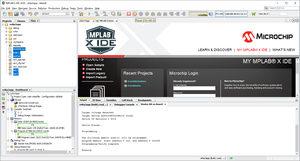
This guide illustrates how to build and run a first ERIKA Enterprise v3 application for dsPIC33EV 5V CAN-LIN STARTER KIT board using Microchip MPLAB-X IDE.
There are currently three ways to compile and generate a binary including ERIKA for the dsPIC33EV:
- Using the Eclipse environment
- OIL File editing integrated in Eclipse
- programming supported, no integrated debugger (you will need to import an executable in MPLAB-X)
- Using a MPLAB-X IDE User Makefile Project or using a Standalone Project (this wiki page)
- No OIL File Editing
- programming and debugging supported
Main difference between the two kind of projects
When using MPLAB-X, we tried to integrate the compilation process in a reasonably simple way. As a result, we ended up using the default projects offered by MPLAB-X, which are the User Makefile Project and the Standalone Project. This Section describes the main differences between the two kind of projects.
User Makefile Project
When using a User Makefile project, you are basically compiling ERIKA3 using an external makefile, which is provided by Evidence during the RT-Druid code generation step.
For that reason:
- During the project setup you need to specify a set of batch files which are run every time you need to build or clean the project.
- A modification to the OIL file is automatically handled when you build your project.
- The list of the files to compile must be specified in the OIL file.
- The compiler options are specified in the OIL file and not in the MPLAB-X Dialog Boxes.
We typically suggest to use this kind of integration: this because it does not require a manual action for the pull process and for the addition of the files to the compilation list.
Standalone Project
When using a Standalone project, you are basically creating a "more traditional" MPLAB-X Project.
In this case:
- During the project setup you will need to create an MPLAB-X Project as usual.
- A modification to the OIL file is not automatically handled when you build your project. In particular.
- The OIL file basically contains the configuration of both kernel and application.
- From the OIL file, the system needs to pull the files needed for the compilation process. The list of files depends on the OIL file content.
- The pull is performed by executing by hand the pull script. As a result, the kernel files are copied in the right place.
- The list of the files to compile will be listed in the project and automatically handled by MPLAB-X. You will only need to add them together with the files resulting from the pull operation.
- The compiler options are specified in the MPLAB-X project configuration Dialog Boxes.
Prerequisites
- Please remember to install Java, Cygwin, and Doxygen to obtain the full functionality described in this tutorial.
- Additional information on these prerequisites is available at the Quick Start Guide - Prerequisites.
- Download the MPLAB-X Scripts package from ERIKA Enterprise v3 download page.
- Extract the downloaded package (ee3_MPLAB-X_scripts_YYYYMMDD_ghNN.zip) in "C:\Evidence" folder.
- Rename extracted "ee3_MPLAB-x" folder in "erika3".
- If you do this step correctly, the file version.txt will be located in C:\Evidence\erika3\version.txt
- Download and Install MPLAB-X IDE v4.05 for windows.
- Yes, exactly version v4.05.
- Download and Install MPLAB XC16 C Compiler v1.33 for windows.
- Yes, exactly version v1.33.
- dsPIC33EV 5V CAN-LIN STARTER KIT board connected to PC via USB cable.
MPLAB-X IDE User Makefile Project
Project Creation
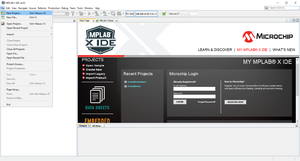
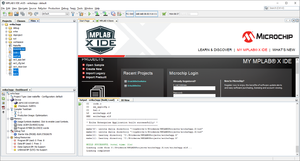
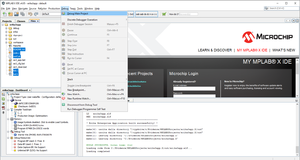
- Click on File->New Project... menu entry as shown in the following figure:
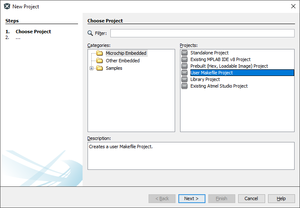
- The MPLAB-X IDE Project Wizard will open as shown in the following figure:
- Select Microchip Embedded folder into Categories Panel.
- Select User Makefile Project project into Projects Panel.
- Click on Next > button.
Device Selection
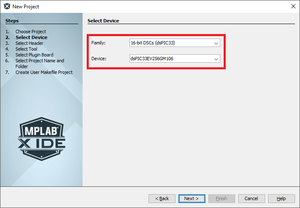
- The wizard will show the window to select the Device as shown in the following figure:
- Select the correct device: 16-bit DSCs (dsPIC33) and dsPIC33EV256GM106.
- Click on Next > button.
Tool Selection
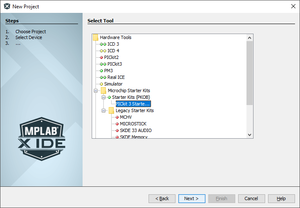
- The Wizard will show the available debugging tools as shown in the following figure:
- Select the correct tool: PICKit 3 Starter Kit....
- Click on Next > button.
Project Name and Folder
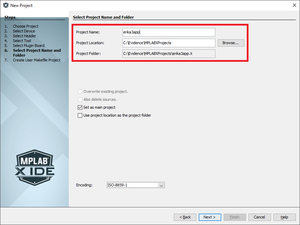
- The Wizard will show the project name and folder as shown in the following figure:
- Fill the Project Name field (e.g erika3app).
- Browse the Project Loaction (e.g. C:\Evidence\MPLABXProjects)
- Click on Next > button.
User Makefile Creation
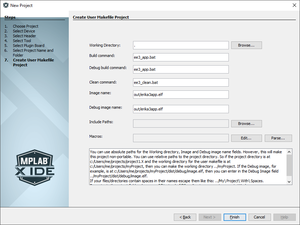
- The wizard will show the User Makefile Creation as shown in the following figure:
- Fill Working Directory field with . (dot).
- Fill Build command and Debug build command fields with ee3_app.bat.
- Fill Clean command" field with ee3_clean.bat.
- Fill Image name and Debug image name fields with out/erika3app.elf.
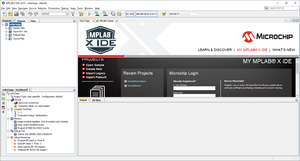
- Finally, click on the Finish button to instantiate the MPLAB-X IDE Project from with chosen options as shown in the following figure:
ERIKA v3 Scripts
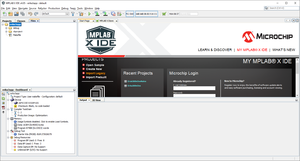
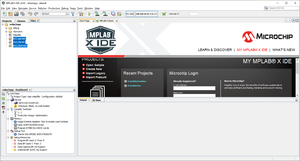
- Click on Files tab-sheet of the upper-left panel to show the Project Files as shown in the following figure:
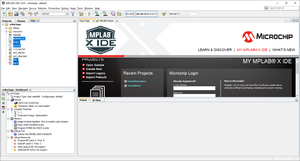
- Copy the following script files from C:\Evidence\erika3\mplabx folder into project folder as shown in the following figure:
- ee3_app.bat
- ee3_cfg.bat
- ee3_clean.bat
ERIKA v3 Application
- Copy example source files from any C:\Evidence\erika3\examples sub-folder into project folder as shown in the following figure:
Project Build
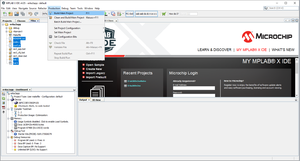
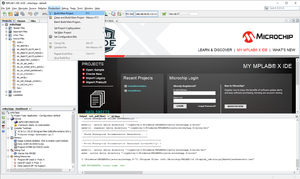
- To build the ERIKA Enterprise v3 example click on Production->Build Main Project menu entry as shown in the following figure:
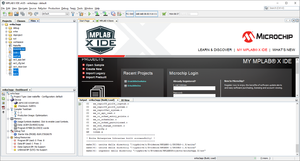
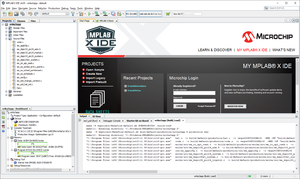
- The build project process starts as shown in the following figure:
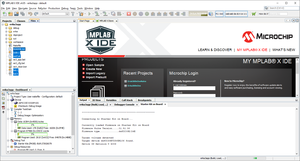
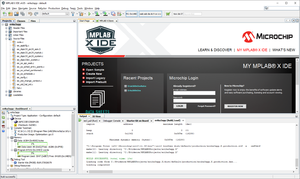
- Finally the build process ends successfully as shown in the following figure:
Project Debug
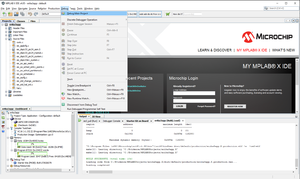
- To debug the ERIKA Enterprise v3 example click on Debug->Debug Main Project menu entry as shown in the following figure:
- The build project process starts as shown in the following figure:
- The build process ends successfully as shown in the following figure:
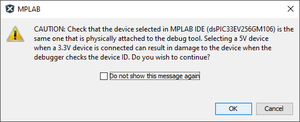
- The Device Voltage dialog window may appear as shown in the in the following figure:
- Click on the OK button to let program the device as shown in the following figure:
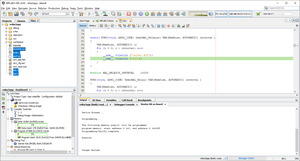
- Finally the programming process ends successfully and the application runs as shown in the following figure:
- Click into Pause button to debug the application as shown in the following figure:
MPLAB-X IDE Standalone Project
Project Creation
- Click on File->New Project... menu entry as shown in the following figure:
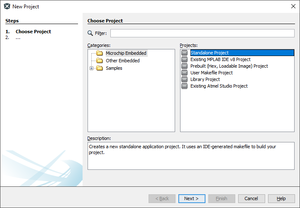
- The MPLAB-X IDE Project Wizard will open as shown in the following figure:
- Select Microchip Embedded folder into Categories Panel.
- Select Standalone Project project into Projects Panel.
- Click on Next > button.
Device Selection
- The wizard will show the window to select the Device as shown in the following figure:
- Select the correct device: 16-bit DSCs (dsPIC33) and dsPIC33EV256GM106.
- Click on Next > button.
Tool Selection
- The Wizard will show the available debugging tools as shown in the following figure:
- Select the correct tool: PICKit 3 Starter Kit....
- Click on Next > button.
Compiler Selection
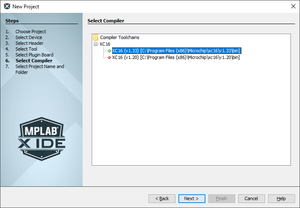
- The Wizard will show the available compilers as shown in the following figure:
- Select the correct compiler: XC16 (v1.33).
- Click on Next > button.
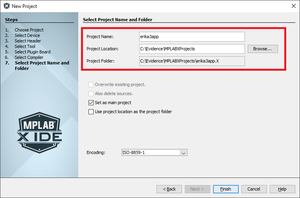
Project Name and Folder
- The Wizard will show the project name and folder as shown in the following figure:
- Fill the Project Name field (e.g erika3app).
- Browse the Project Loaction (e.g. C:\Evidence\MPLABXProjects)
- Finally, click on the Finish button to instantiate the MPLAB-X IDE Project from with chosen options as shown in the following figure:
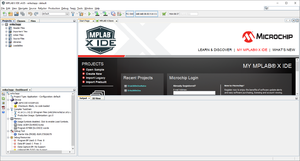
ERIKA v3 Scripts
- Click on Files tab-sheet of the upper-left panel to show the Project Files as shown in the following figure:
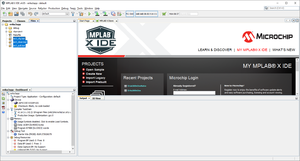
- Copy the following script files from C:\Evidence\erika3\mplabx folder into project folder as shown in the following figure:
- ee3_pull.bat
- ee3_cfg.bat
- ee3_clean.bat
ERIKA v3 Application
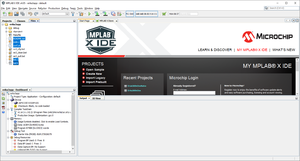
- Copy example source files from any C:\Evidence\erika3\examples sub-folder into project folder as shown in the following figure:
ERIKA ve Pull
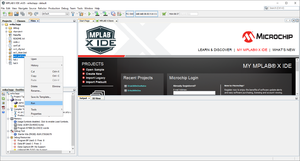
- Right-Click on the ee_pull.bat file in the project and select Run context-menu entry to pull ERIKA Enterprise v3 into project as shown in the following figure:
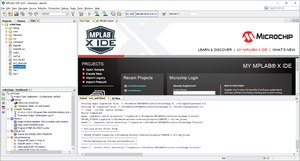
- The pull process starts as shown in the following figure:
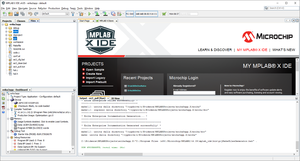
- The pull process ends successfully as shown in the following figure:
Application Source Files
- Click on Projects tab-sheet of the upper-left panel to show the Project Folders.
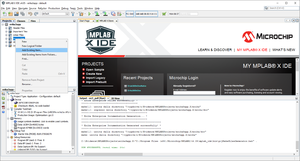
- Right-Click on the Source Files folder in the project and select Add Existing Item... context-menu entry to add source files into project build system as shown in the following figure:
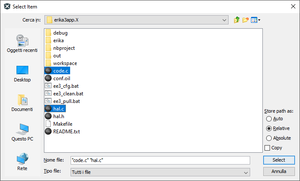
- From the project root select application source files and then click Select button as shown in the following figure:
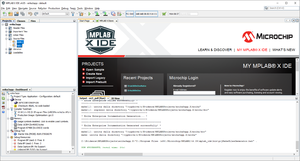
- The application source files will be added to project source files folder as shown in the following figure:
Application Configuration Source File
- Right-Click on the Source Files folder in the project and select Add Existing Item... context-menu entry to add source files into project build system as shown in the following figure:
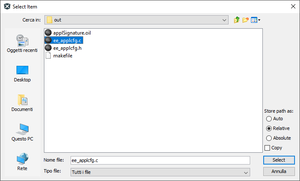
- From the project out sub-folder select ee_applcfg.c source files and then click Select button as shown in the following figure:
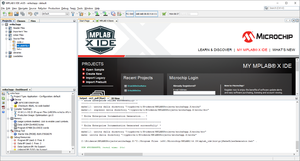
- The application configuration source files will be added to project source files folder as shown in the following figure:
ERIKA v3 Source Files
- Right-Click on the Source Files" folder in the project and select Add Existing Item... context-menu entry to add source files into project build system as shown in the following figure:
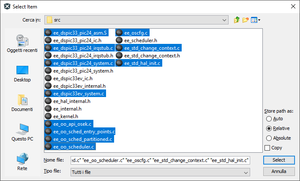
From the project erika/src sub-folder select all *.c and all *.S source files and then click Select button as shown in the following figure:
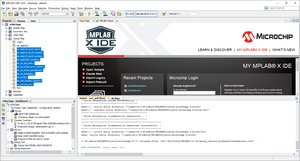
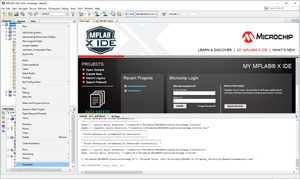
- The ERIKA Enterprise v3 source files will be added to project source files folder as shown in the following figure:
ERIKA v3 Include Files
- Right-Click on the project and select Properties context-menu entry as shown in the following figure:
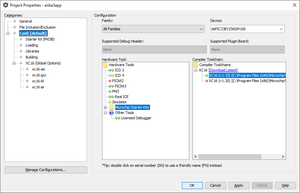
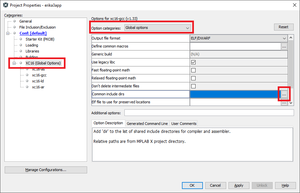
- The Project Properties dialog window will open as shown in the following figure:
- Select XC16 (Global Options) from the Categories: panel.
- Select Global Options from the Option categories:".
- Click on the '...' button of Common include dirs as shown in the following figure:
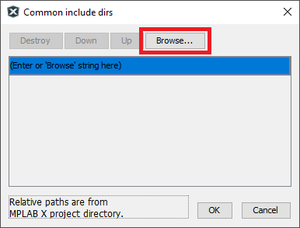
- The Common include dirs dialog window will appear as shown in the following figure:
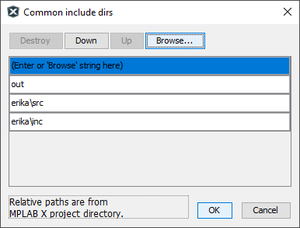
- Click on the Browse... button to add the followings include dirs:
- out
- erika\src
- erika\inc
- Then click on the OK' button as shown in the following figure:
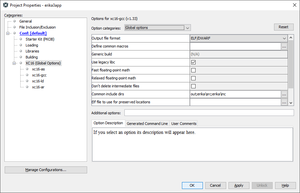
- The ERIKA v3 include dirs will be added, then click OK to confirm as shown in the following figure:
Project Build
- To build the ERIKA Enterprise v3 example click on Production->Build Main Project menu entry as shown in the following figure:
- The build project process starts as shown in the following figure:
- Finally the build process ends successfully as shown in the following figure:
Project Debug
- To debug the ERIKA Enterprise v3 example click on Debug->Debug Main Project menu entry as shown in the following figure:
- The build project process starts as shown in the following figure:
- The build process ends successfully as shown in the following figure:
- The Device Voltage dialog window may appear as shown in the in the following figure:
- Click on the OK button to let program the device as shown in the following figure:
- Finally the programming process ends successfully and the application runs as shown in the following figure:
- Click into Pause button to debug the application as shown in the following figure:
Additional Notes
T.B.D.
