Infineon Tricore AURIX build with RT-Druid
From ERIKA WIKI
Contents
Synopsys
This guide illustrates how to build and run a first ERIKA Enterprise v3 application for Infineon Tricore AURIX
- Using the Eclipse environment (this wiki page)
- OIL File editing integrated in Eclipse
- No integrated debugger support (you will need Lauterbach Trace32)
Prerequisites
Please remember to install Hightec GCC Compiler and Lauterbach TRACE32 to obtain the full functionality described in this tutorial.
RT-Druid Eclipse IDE
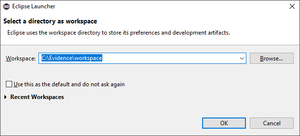
- Double-click the eclipse.exe application located in the eclipse folder extracted from the RT-Druid Package. Then, the workspace selection window will appear as shown in the following figure:
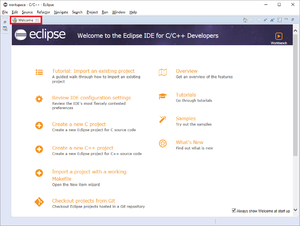
- Browse the file-system to select Workspace folder and then click on the OK button to let the RT-Druid Eclipse IDE start as shown in the following figure:
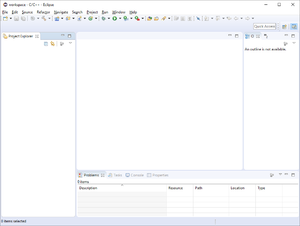
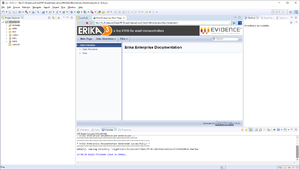
- Click on the Welcome tab-sheet close button to show the default RT-Druid Eclipse IDE C/C++ perspective as shown in the following figure:
RT-Druid Template Project
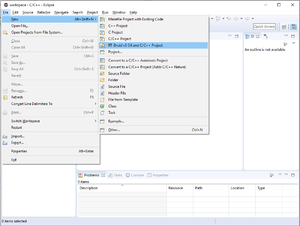
- Click on File->New->RT-Druid v3 Oil and C/C++ Project menu entry as shown in the following figure:
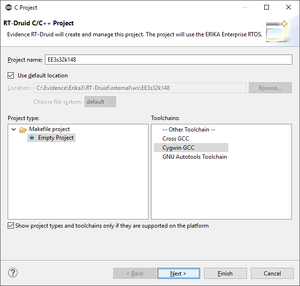
- The RT-Druid C/C++ Project Wizard will open as shown in the following figure:
- Type the name of the project in the Project name text-box (e.g., EE3s32k148).
- Make sure the Cygwin GCC toolchain is selected and then click on the Next button.
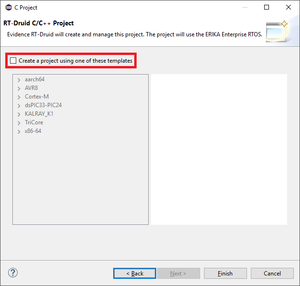
- The wizard will show the window to select a project template as shown in the following figure:
- Click on Create a project using one of these templates check-box to let the Template Wizard to show the available templates as shown in the following figure:
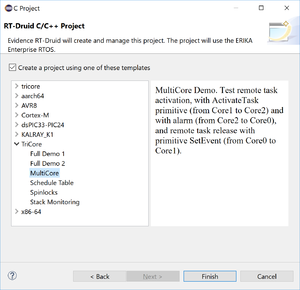
- Expand the TriCore entry and choose the desired template to instantiate: Multicore in the example.
- Finally, click on the Finish button to instantiate an RT-Druid Eclipse project from a chosen template as shown in the following figure:
RT-Druid Configuration
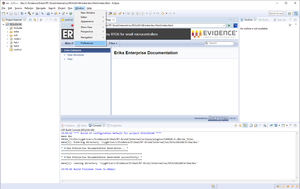
- Click on the Window->Preferences menu entry as shown in the following figure:
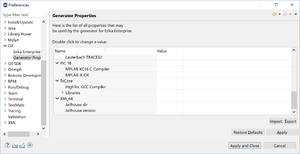
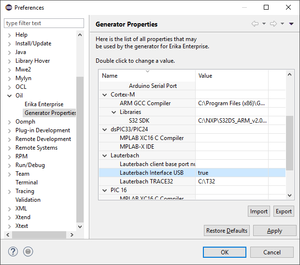
- The RT-Druid Eclipse Preferences window will open as shown in the following figure:
- Click the Generator Properties entry in the OIL section of the left panel to show the RT-Druid Generator Properties to configure.
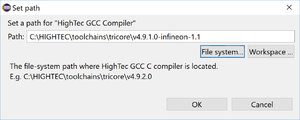
- Double-click on the HighTec GCC Compiler property to configure C Compiler installation path as shown in the following figure:
- Browse the file-system to select the HighTec GCC Compiler path (E.g. C:\HIGHTEC\toolchains\tricore\v4.9.1.0-infineon-1.1) and then click the OK button.
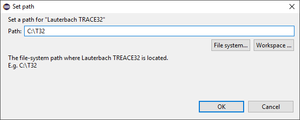
- Double-click on the Lauterbach TRACE32 property to configure the Lauterbach TRACE32 installation path as shown in the following figure:
- Browse the file-system to select the Lauterbach TRACE32 path (E.g. C:\T32) and then click the OK button.
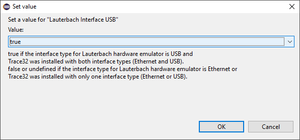
- Double-click on the Lauterbach interface USB property to configure the Lauterbach Hardware Emulator interface as shown in the following figure:
- Set correct value according to you Hardware Emulator interface and then click the OK button.
- Finally, click the OK button to confirm the configuration properties as shown in the following figure:
ERIKA distribution clean
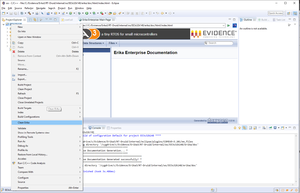
- Right-Click on the project into Eclipse Project Explorer panel and click on Clean Erika context-menu entry as shown in the following figure:
- The Clean up Erika Files dialog window will appear as shown in the following figure:
- Click on the Yes button to clean the whole ERIKA distribution.
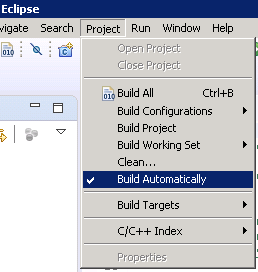
NOTE: the distribution folder will be automatically regenerated if the flag Build Automatically is enabled.
NOTE: this operation may be necessary every time an ERIKA or RT-Druid configuration property is modified.
ERIKA project build
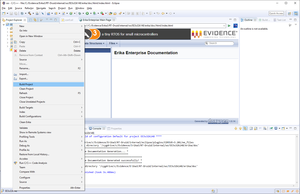
- Right-click on the generated project into Eclipse Project Explorer panel and click on Build Project context-menu entry as shown in the following figure:
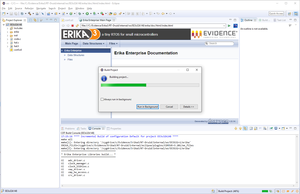
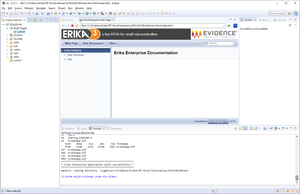
- The build process starts as shown in the following figure:
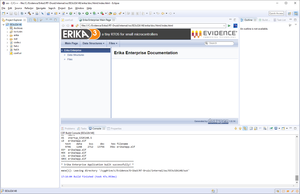
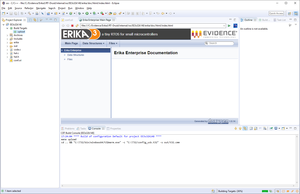
- The build process ends successfully as shown in the following figure:
Add Upload Build Target
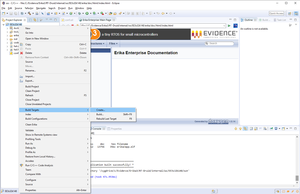
- Right-Click on the generated project into Eclipse Project Explorer panel and click on Create... item of the Build Target context-menu entry, as shown in the following figure:
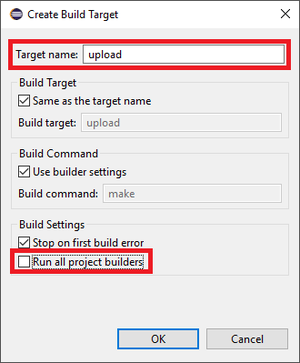
- The Create Build Target dialog window will appear as shown in the following figure:
- Type upload into Target name text-box, uncheck the Run all project builders check-box and then click on OK button.
- The upload target will be created as shown in the following figure:
NOTE: this operation should be done once for every ERIKA project.
Application Debug with Lauterbach TRACE32
- Double-Click on upload build target created in the previous section to start the upload process as shown in the following figure:
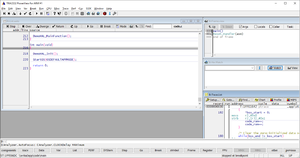
- The upload process ends successfully and Lauterbach TRACE32 starts as shown in the following figure:
- Debug the application running on TriBoard Starter Kit board.
Additional Notes
T.B.D.
