AVR8 - Arduino application build on Windows
From ERIKA WIKI
Contents
Synopsys
This guide describes the how to build and run a first ERIKA Enterprise v3 application for Arduino UNO boards.
RT-Druid Eclipse IDE
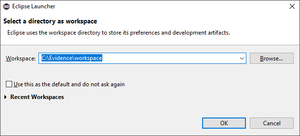
- Double-Click on eclipse.exe application located into eclipse folder extracted from the RT-Druid Package and than the workspace selection window will appear as shown the following figure:
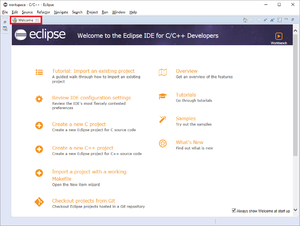
- Browse the File-System to select Workspace folder and then click on the OK button to let the RT-Druid Eclipse IDE start as shown in the following figure:
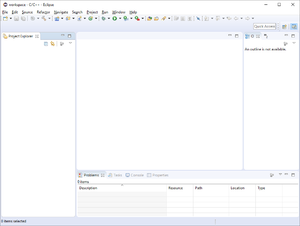
- Click on Welcome tab-sheet close button to show the default RT-Druid Eclipe IDE C/C++ perspective as shown in the following figure:
RT-Druid Template Project
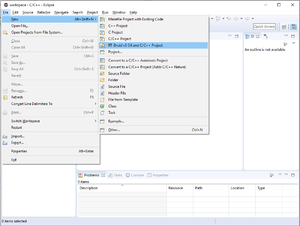
- Click on File->New->RT-Druid v3 Oil and C/C++ Project menu entry as shown in the following figure:
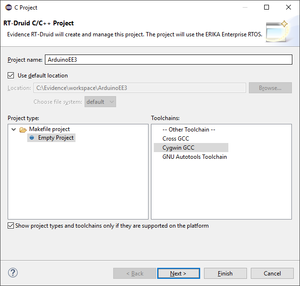
- The RT-Druid C/C++ Project Wizard will open as shown in the following figure:
- Type the name of the the project in the Project name text-box: ArduinoEE3 for example.
- Make sure the Cygwin GCC toolchain is selected and the click on the Next button.
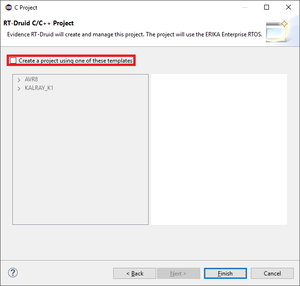
- The wizard will show the window to select a project template as shown in the following figure:
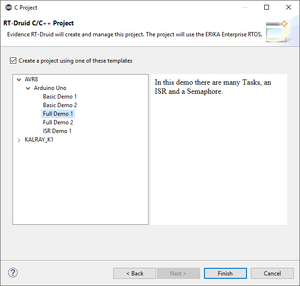
- Click on Create a project using one of these templates check-box to let the Template Wizard to show the available templates as shown in the following figure:
- Expand AVR8 and Arduino Uno entries and choose a desired template to instatiate: Full Demo 2 for example.
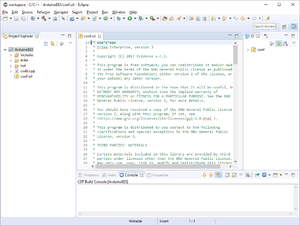
- Finally, click on Finish button to instatiate an RT-Druid Eclipse project from a choosen template as shown in the following figure:
Arduino UNO Serial Port
- Connect the Arduino UNO board to the PC via USB cable.
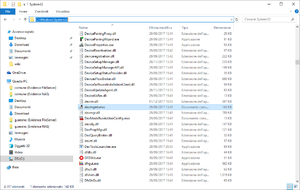
- Open the Device Management of Windows executing (by Double-Click) the devmgmt.msc command located in C:\WINDOWS\System32 as shown in the following figure:
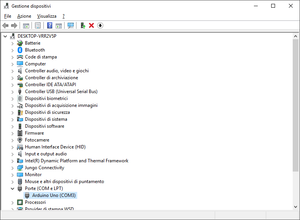
- The Device Management window will open.
- Expand the Port (COM and LTP) entry to find the Arduino Uno COM port (COM3 for example) as as shown in the following figure:
RT-Druid Configuration
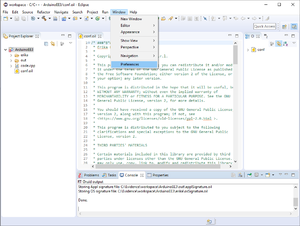
- Click on Window->Preferences menu entry as shown in the following figure:
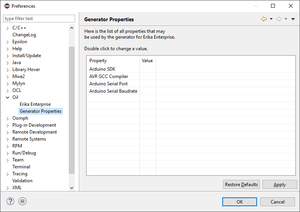
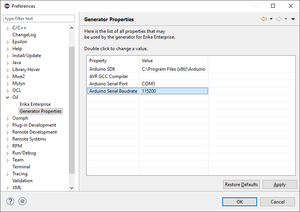
- The RT-Druid Eclipse Preferences window will open as shown in the following figure:
- Click the Generator Properties entry in the OIL section of the left panel to show the RT-Druid Generator Properties to configure.
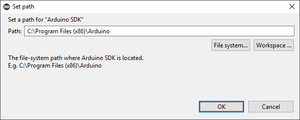
- Double-Click on the Arduino SDK Property to configure the Arduino SDK installation path as shown in the following figure:
- Browse th File-System to select the Arduino SDK path (E.g. C:\Program Files (x86)\Arduino) and then click OK button.
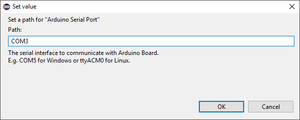
- Double-Click on the Arduino Serial Port Property to configure the Arduino Serial Port as shown in the following figure:
- Type the COM Port where the Arduino UNO Board is connected (E.g. COM3) and then click OK button.
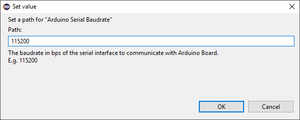
- Double-Click on the Arduino Serial Baudrate Property to configure the Arduino Serial Baudrate as shown in the following figure:
- Type 115200 (the Arduino UNO Bootloader Baudrate) and then click OK button.
- Finally, click the OK button to confirm the configuration properties as shown in the followin figure:
Erika distribution clean
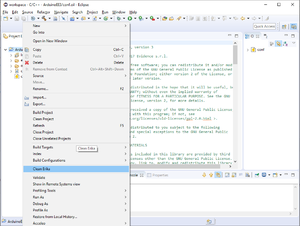
- Right-Click on ArduinoEE3 project into Eclipse Project Explorer panel and click on Clean Erika context-menu entry as shown in the following figure:
- The Clean up Erika Files dialog window will appear as shown in the following figure:
- Click on Yes button to clean the entire Erika distribution.
NOTE: the distribution will be automatically regenerated.
NOTE: this operation may be necessary every time an Erika or RT-Druid configuration property will be modfied.
Erika project build
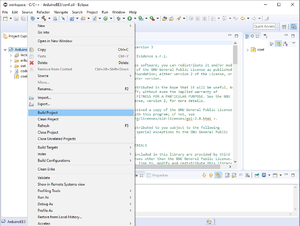
- Right-Click on ArduinoEE3 project into Eclipse Project Explorer panel and click on Build Progect context-menu entry as shown in the following figure:
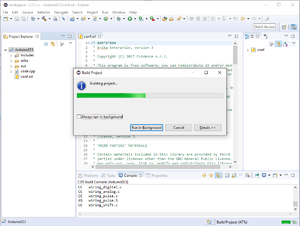
- The build process start as shown in the following figure:
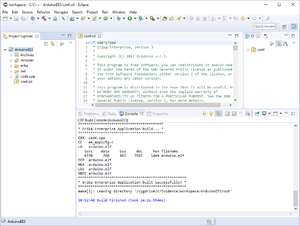
- The bluild process ends successfully as shown in the following figure:
Additional Notes
T.B.D.
