AVR8 - Arduino application build on Windows
From ERIKA WIKI
Contents
Synopsys
This guide describes the how to build a first ERIKA Enterprise v3 application for Arduino UNO boards.
RT-Druid Eclipse IDE
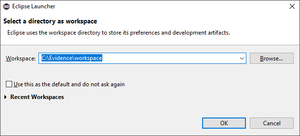
- Double-Click on eclipse.exe application located into eclipse folder extracted from the RT-Druid Package and than the workspace selection window will appear as shown the following figure:
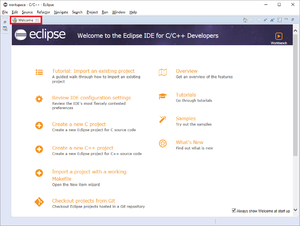
- Browse the File-System to select Workspace folder and then click on the OK button to let the RT-Druid Eclipse IDE start as shown in the following figure:
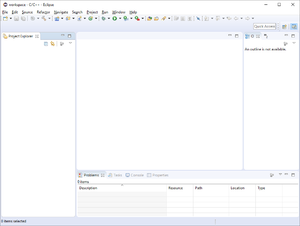
- Click on Welcome tab-sheet close button to show the default RT-Druid Eclipe IDE C/C++ perspective as shown in the following figure:
RT-Druid Template Project
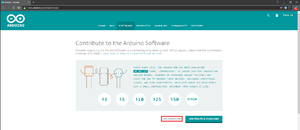
- Click on Windows Installer button to go to download page as shown in the following figure:
- Click on Just Download button to download the installation program arduino-1.8.5-windows.exe.
Installation
- Double-Click on the Arduino SDK installation program that you downloaded during the previous steps: arduino-1.8.5-windows.exe
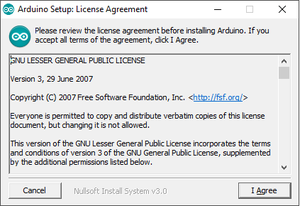
- The Arduino SDK installation program starts as shown in the following figure:
- Click on the I Agree button to accept the License Agreement ad go to installation options as shown in the following figure:
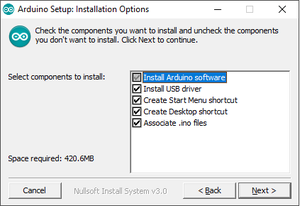
- Select or Remove additional Arduino components to install, then click on the Next button to select the installation folder as shown in the following figure:
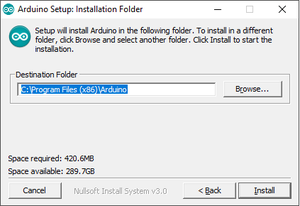
- Browse the File-System to select the Destination Folder where to install Arduino SDK and then click on the Install button to let the installation process to start as shown in the following figure:
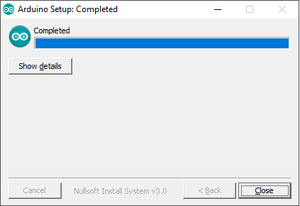
- After the installation process ends, the installation process completed window appears as shown in the following figure:
- Finally click on the Close button to complete the Arduino SDK installation process.
Additional Notes
T.B.D.
