Difference between revisions of "Doxygen"
From ERIKA WIKI
(Created page with "= Synopsys = This guide describes the download and installation process of [http://www.stack.nl/~dimitri/doxygen/ Doxygen], a tool for generating documentation from annotated...") |
|||
| Line 32: | Line 32: | ||
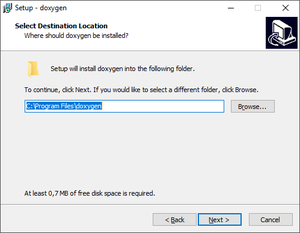
[[File:Doxygen setup 3.png|thumb|center|Figure 5: Doxygen Destination Location.]] | [[File:Doxygen setup 3.png|thumb|center|Figure 5: Doxygen Destination Location.]] | ||
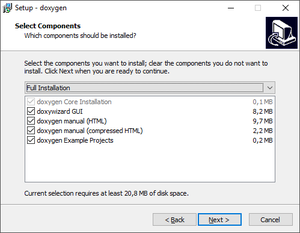
| − | * Browse the ''Destination Directory'' where to install Doxygen and then click on the ''Next'' button to select components | + | * Browse the ''Destination Directory'' where to install Doxygen and then click on the ''Next'' button to select components that should be installed as shown in the following figure: |
[[File:Doxygen setup 4.png|thumb|center|Figure 6: Doxygen Select Components.]] | [[File:Doxygen setup 4.png|thumb|center|Figure 6: Doxygen Select Components.]] | ||
Revision as of 13:54, 21 December 2017
Synopsys
This guide describes the download and installation process of Doxygen, a tool for generating documentation from annotated sources, needed to generate ERIKA Enterprise v3 documentation.
NOTE: If you want, you can choose to install the Doxygen package embedded in Cygwin distribution as described in the Cygwin installation guide.
Download
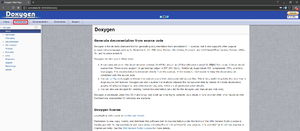
- Launch your favourite web browser and go to Doxygen website as shown in the following figure:
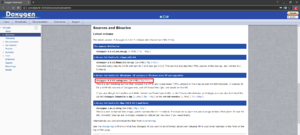
- Click on Download button to go to download page as shown in the following figure:
- Scroll-down the page to locate the doxygen-1.8.13-setup.exe and click on ftp or http to download the installation program.
Installation
- Double-Click on the Doxygen installation program that you downloaded during the previous steps: doxygen-1.8.13-setup.exe
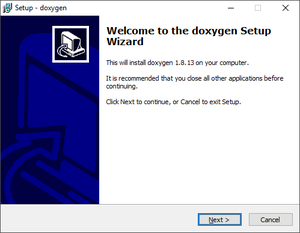
- The Doxygen installation program starts as shown in the following figure:
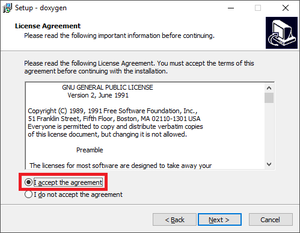
- Click on the Next button to accept the License Agreement as shown in the following figure:
- Make sure that the I accept the agreement is selected and then click on the Next button to select the destination location as shown in the following figure:
- Browse the Destination Directory where to install Doxygen and then click on the Next button to select components that should be installed as shown in the following figure:
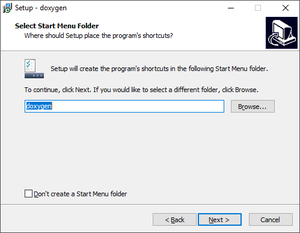
- Select or Remove additional Doxygen components to install and then click on the Next button to select start menu folder as shown in the following figure:
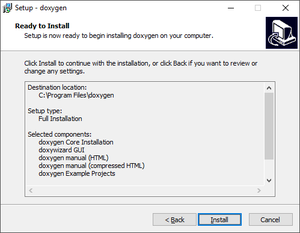
- Browse start menu folder and then click on the Next button to check the overall installation as shown in the following figure:
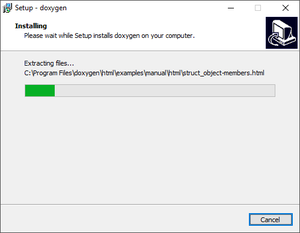
- Click on the Install button to start the installation process as shown in the following figure:
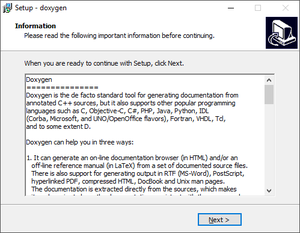
- After the installation process ends, the Doxygen information window appears as shown in the following figure:
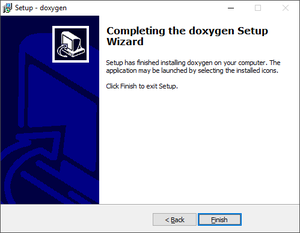
- Click on the Next button to complete the doxygen setup wizard as shown in the following figure:
- Finally click on the Finish button to complete the Doxygen installation process.
Additional Notes
T.B.D.
