Difference between revisions of "TI AWR1642 build with RT-Druid"
From ERIKA WIKI
E.Guidieri (talk | contribs) |
E.Guidieri (talk | contribs) (→RT-Druid Template Project) |
||
| Line 47: | Line 47: | ||
* Click on ''Create a project using one of these templates'' check-box to let the Template Wizard to show the available templates as shown in the following figure: | * Click on ''Create a project using one of these templates'' check-box to let the Template Wizard to show the available templates as shown in the following figure: | ||
| − | [[File: | + | [[File:TI AWR1642 tutorial 6.png|thumb|center|Figure 7: RT-Druid Available Templates Wizard.]] |
| − | * Expand the ''Cortex- | + | * Expand the ''Cortex-R'' and ''TI AWR1642'' entries and choose the desired template to instantiate: ''Full Demo''. |
* Finally, click on the ''Finish'' button to instantiate an RT-Druid Eclipse project from a chosen template as shown in the following figure: | * Finally, click on the ''Finish'' button to instantiate an RT-Druid Eclipse project from a chosen template as shown in the following figure: | ||
| − | [[File: | + | [[File:TI AWR1642 tutorial 8.png|thumb|center|Figure 8: RT-Druid Eclipse Project.]] |
[[Category:Tutorial]] | [[Category:Tutorial]] | ||
Revision as of 14:01, 25 February 2019
Synopsys
This guide illustrates how to build and run a first ERIKA Enterprise v3 application for AWR1642BOOST
- Using the Eclipse environment (this wiki page)
- OIL File editing integrated in Eclipse
- No integrated debugger support (you will need CCS v8 or Lauterbach Trace32 (for lauterbach no specific instruction are provided))
Prerequisites
Please remember to install CCS v8 and MMWAVE-SDK 02_01_00_04 to obtain the full functionality described in this tutorial.
Additional information on prerequisites is available at the Quick Start Guide - Prerequisites.
RT-Druid Eclipse IDE
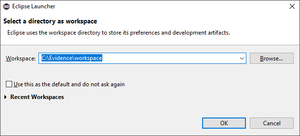
- Double-click the eclipse.exe application located in the eclipse folder extracted from the RT-Druid Package. Then, the workspace selection window will appear as shown in the following figure:
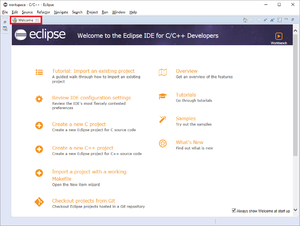
- Browse the file-system to select Workspace folder and then click on the OK button to let the RT-Druid Eclipse IDE start as shown in the following figure:
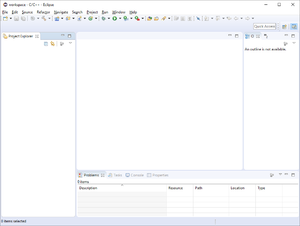
- Click on the Welcome tab-sheet close button to show the default RT-Druid Eclipse IDE C/C++ perspective as shown in the following figure:
RT-Druid Template Project
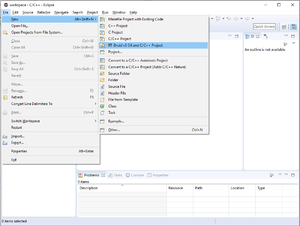
- Click on File->New->RT-Druid v3 Oil and C/C++ Project menu entry as shown in the following figure:
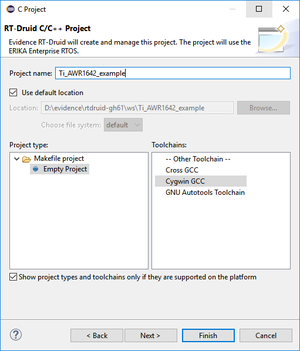
- The RT-Druid C/C++ Project Wizard will open as shown in the following figure:
- Type the name of the project in the Project name text-box (e.g., TI_AWR1642_example).
- Make sure the Cygwin GCC toolchain is selected and then click on the Next button.
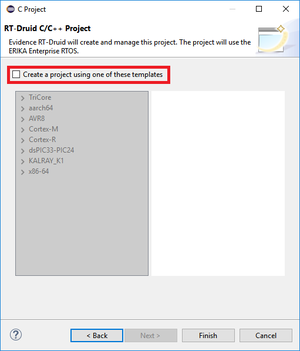
- The wizard will show the window to select a project template as shown in the following figure:
- Click on Create a project using one of these templates check-box to let the Template Wizard to show the available templates as shown in the following figure:
- Expand the Cortex-R and TI AWR1642 entries and choose the desired template to instantiate: Full Demo.
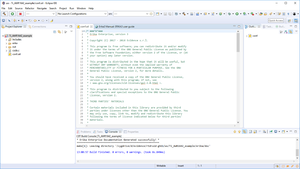
- Finally, click on the Finish button to instantiate an RT-Druid Eclipse project from a chosen template as shown in the following figure:
