Difference between revisions of "NXP S32K1xx - Application debug with PEmicro OCD on Windows"
From ERIKA WIKI
(→PEmicro Eclipse Plugin Configuration) |
|||
| Line 81: | Line 81: | ||
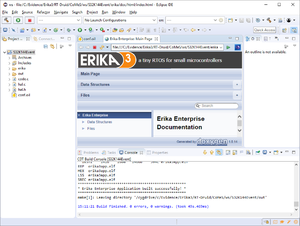
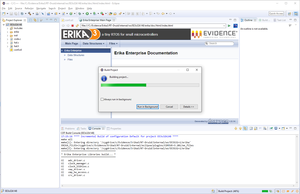
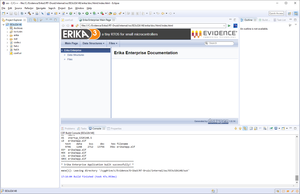
[[File:PEmicro RTDruidEclipseBuild.png|thumb|center|Figure 14: Erika 3 application built.]] | [[File:PEmicro RTDruidEclipseBuild.png|thumb|center|Figure 14: Erika 3 application built.]] | ||
| + | |||
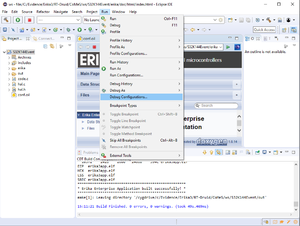
| + | * Click on ''Run->Debug Configurations...'' menu entry as shown in the following figure: | ||
| + | |||
| + | [[File:PEmicro RTDruidEclipseRunDebugConfig.png|thumb|center|Figure 15: Debug Configurations...]] | ||
| + | |||
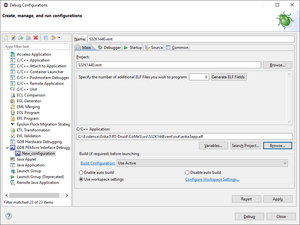
| + | * The ''Debug Configuration'' dialog window will open as shown in the following figure: | ||
| + | |||
| + | [[File:PEmicro RTDruidEclipseDebugConfigNew.png|thumb|center|Figure 16: New Debug Configuration]] | ||
| + | |||
| + | * Select ''GDB PEmicro Interface Debugging'' entry from the left panel and click on the ''New lauch configuration'' button as shown in the previos figure. | ||
| + | |||
| + | * A ''New_configuration'' entry will be created as child of ''GDB PEmicro Interface Debugging'' entry in the left panel as shoen in the following figure: | ||
| + | |||
| + | [[File:PEmicro RTDruidEclipseDebugConfigMain.png|thumb|center|Figure 17: New Debug Configuration Entry]] | ||
= Embedded Systems Register View Eclipse Plugin = | = Embedded Systems Register View Eclipse Plugin = | ||
Revision as of 10:59, 10 September 2018
Contents
- 1 Synopsys
- 2 Prerequisites
- 3 PEmicro Eclipse Plugin Download
- 4 PEmicro Eclipse Plugin Installation
- 5 PEmicro Eclipse Plugin Configuration
- 6 Embedded Systems Register View Eclipse Plugin
- 7 PEmicro Debugger Configuration
- 8 ERIKA application debug using PEmicro OCD
- 9 Embedded Systems Register View Configuration
- 10 Additional Notes
Synopsys
This guide illustrates how to run and debug an ERIKA Enterprise v3 application for S32K144EVB or S32K148EVB boards:
- Using the Eclipse environment with integrated debugger support (PEmicro OCD).
Prerequisites
Additional information on prerequisites is available at the Quick Start Guide - Prerequisites.
PEmicro Eclipse Plugin Download
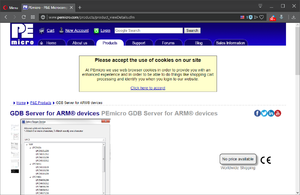
- Open your favourite web broser and go to URL PEmicro GDB Server for ARM devices as shown in the following figure:
- Scroll down the entire page and click the PEmicro GDB Server for ARM devices - Eclipse Plugin link to download PEmicro Eclipse Plugin as shown in the following figure:
- You have to insert your e-mail address into required form to reveive the download link.
- Save the downloaded PEmicro Eclipse Plugin as you want into file-system.
- Currently the PEmicro Eclipse Plugin file name is com.pemicro.debug.gdbjtag.pne.updatesite-3.0.9-SNAPSHOT.zip
PEmicro Eclipse Plugin Installation
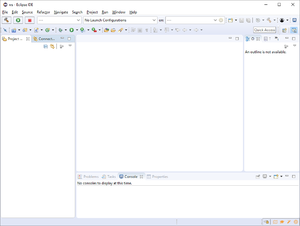
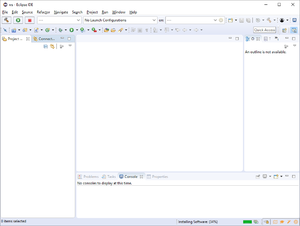
- Run RT-Druid v3 Eclipse IDE as shown in the following figure:
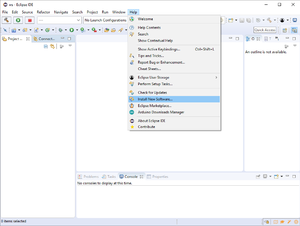
- Click on Help->Install New Software... menu entry as shown in the following figure:
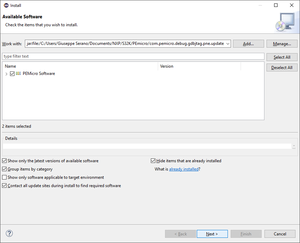
- The Available Software dialog will open as shown in the following figure:
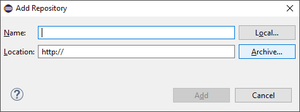
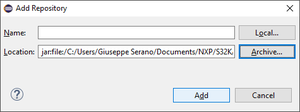
- Click on the Add... button to open the Add Repositoryas shown in the following figure:
- Click on Archive... button and select the previously downloaded PE Micro Eclipse Plugin (e.g. com.pemicro.debug.gdbjtag.pne.updatesite-3.0.9-SNAPSHOT.zip) package as shown in the following figure:
- Click on the Add button to confirm the PEmicro Eclipse Plugin package selection as shown in the following figure:
- Click on the PEMicro Software check-box to select the PEmicro Eclipse Plugin to install.
- Click on the Next > button to let the 'plugin requirements and dependencies calculation' process starts as shown in the following figure:
- Once the 'plugin requirements and dependencies calculation' process ends, the Installation Details dialog is opened as shown in the following figure:
- Click on the Next > button to open the Review Licenses dialog as shown in the following figure:
- Click on the I accept the terms of the license agreements radio-button to accept the license terms.
- Finally click on the Finish button to start the installation process as shown in the following figure:
- Once the installation process ends, the Software Updates dialog will appear as shown in the following figure:
- Click on the Restart Now button to restart the RT-Druid Eclipse IDE.
PEmicro Eclipse Plugin Configuration
- Instatiate and build an Erika 3 application as shown in the following figure:
- Click on Run->Debug Configurations... menu entry as shown in the following figure:
- The Debug Configuration dialog window will open as shown in the following figure:
- Select GDB PEmicro Interface Debugging entry from the left panel and click on the New lauch configuration button as shown in the previos figure.
- A New_configuration entry will be created as child of GDB PEmicro Interface Debugging entry in the left panel as shoen in the following figure:
Embedded Systems Register View Eclipse Plugin
- Click on Help->Install New Software... menu entry as shown in the following figure:
- The Available Software dialog will open as shown in the following figure:
- Click on the Add... button to open the Add Repositoryas shown in the following figure:
- Click on Archive... button and select the previously downloaded PE Micro Eclipse Plugin (e.g. com.pemicro.debug.gdbjtag.pne.updatesite-3.0.9-SNAPSHOT.zip) package as shown in the following figure:
- Click on the Add button to confirm the PEmicro Eclipse Plugin package selection as shown in the following figure:
- Click on the PEMicro Software check-box to select the PEmicro Eclipse Plugin to install.
- Click on the Next > button to let the 'plugin requirements and dependencies calculation' process starts as shown in the following figure:
- Once the 'plugin requirements and dependencies calculation' process ends, the Installation Details dialog is opened as shown in the following figure:
- Click on the Next > button to open the Review Licenses dialog as shown in the following figure:
- Click on the I accept the terms of the license agreements radio-button to accept the license terms.
- Finally click on the Finish button to start the installation process as shown in the following figure:
- Once the installation process ends, the Software Updates dialog will appear as shown in the following figure:
- Click on the Restart Now button to restart the RT-Druid Eclipse IDE.
PEmicro Debugger Configuration
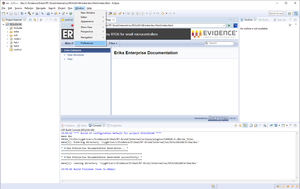
- Click on the Window->Preferences menu entry as shown in the following figure:
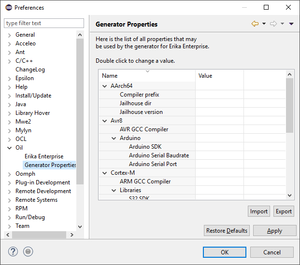
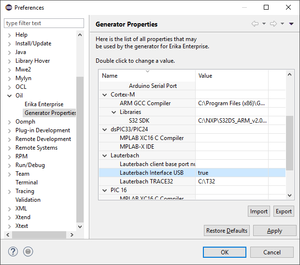
- The RT-Druid Eclipse Preferences window will open as shown in the following figure:
- Click the Generator Properties entry in the OIL section of the left panel to show the RT-Druid Generator Properties to configure.
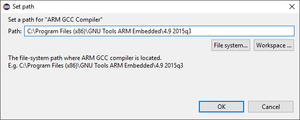
- Double-click on the ARM GCC Compiler property to configure the MPLAB XC16 C Compiler installation path as shown in the following figure:
- Browse the file-system to select the ARM GCC Compiler path (E.g. C:\Program Files (x86)\GNU Tools ARM Embedded\4.9 2015q3) and then click the OK button.
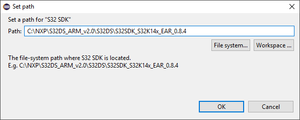
- Double-click on the S32 SDK property to configure the S32 SDK installation path as shown in the following figure:
- Browse the file-system to select the S32 SDK path (E.g. C:\NXP\S32DS_ARM_v2.0\S32DS\S32SDK_S32K14x_EAR_0.8.4) and then click the OK button.
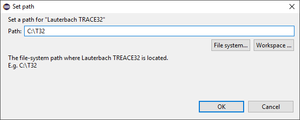
- Double-click on the Lauterbach TRACE32 property to configure the Lauterbach TRACE32 installation path as shown in the following figure:
- Browse the file-system to select the Lauterbach TRACE32 path (E.g. C:\T32) and then click the OK button.
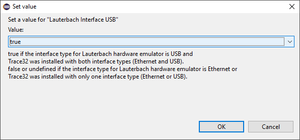
- Double-click on the Lauterbach interface USB property to configure the Lauterbach Hardware Emulator interface as shown in the following figure:
- Set correct value according to you Hardware Emulator interface and then click the OK button.
- Finally, click the OK button to confirm the configuration properties as shown in the following figure:
ERIKA application debug using PEmicro OCD
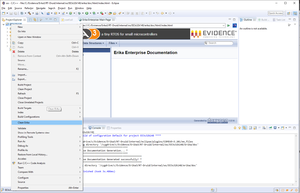
- Right-Click on EE3s32k148 project into Eclipse Project Explorer panel and click on Clean Erika context-menu entry as shown in the following figure:
- The Clean up Erika Files dialog window will appear as shown in the following figure:
- Click on the Yes button to clean the whole ERIKA distribution.
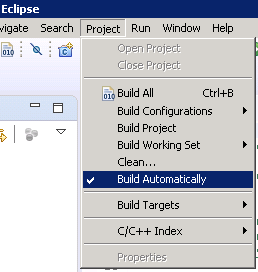
NOTE: the distribution folder will be automatically regenerated if the flag Build Automatically is enabled.
NOTE: this operation may be necessary every time an ERIKA or RT-Druid configuration property is modified.
Embedded Systems Register View Configuration
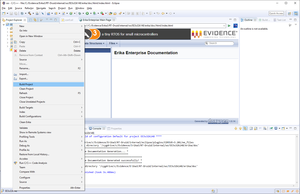
- Right-click on EE3s32k148 project into Eclipse Project Explorer panel and click on Build Project context-menu entry as shown in the following figure:
- The build process starts as shown in the following figure:
- The build process ends successfully as shown in the following figure:
Additional Notes
T.B.D.
