Microchip MPLAB-X - Integration on Windows
Contents
- 1 Synopsys
- 2 Prerequisites
- 3 Directory names - IMPORTANT
- 4 MPLAB-X IDE User Makefile Project
- 5 MPLAB-X IDE Standalone Project
- 6 Additional Notes
Synopsys
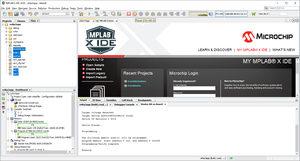
This guide illustrates how to build and run a first ERIKA Enterprise v3 application for dsPIC33EV 5V CAN-LIN STARTER KIT board using Microchip MPLAB-X IDE.
There are currently three ways to compile and generate a binary including ERIKA for the dsPIC33EV:
- Using the Eclipse environment
- OIL File editing integrated in Eclipse
- programming supported, no integrated debugger (you will need to import an executable in MPLAB-X)
- Using a MPLAB-X IDE User Makefile Project or using a Standalone Project (this wiki page)
- No OIL File Editing
- programming and debugging supported
Main difference between the two kind of projects
When using MPLAB-X, we tried to integrate the compilation process in a reasonably simple way. As a result, we ended up using the default projects offered by MPLAB-X, which are the User Makefile Project and the Standalone Project. This Section describes the main differences between the two kind of projects.
User Makefile Project
When using a User Makefile project, you are basically compiling ERIKA3 using an external makefile, which is provided by Evidence during the RT-Druid code generation step.
For that reason:
- During the project setup you need to specify a set of batch files which are run every time you need to build or clean the project.
- A modification to the OIL file is automatically handled when you build your project.
- The list of the files to compile must be specified in the OIL file.
- The compiler options are specified in the OIL file and not in the MPLAB-X Dialog Boxes.
We typically suggest to use this kind of integration: this because it does not require a manual action for the pull process and for the addition of the files to the compilation list.
Standalone Project
When using a Standalone project, you are basically creating a "more traditional" MPLAB-X Project.
In this case:
- During the project setup you will need to create an MPLAB-X Project as usual.
- A modification to the OIL file is not automatically handled when you build your project. In particular.
- The OIL file basically contains the configuration of both kernel and application.
- From the OIL file, the system needs to pull the files needed for the compilation process. The list of files depends on the OIL file content.
- The pull is performed by executing by hand the pull script. As a result, the kernel files are copied in the right place.
- The list of the files to compile will be listed in the project and automatically handled by MPLAB-X. You will only need to add them together with the files resulting from the pull operation.
- The compiler options are specified in the MPLAB-X project configuration Dialog Boxes.
Prerequisites
- Please remember to install Java, Cygwin, and Doxygen to obtain the full functionality described in this tutorial.
- Additional information on these prerequisites is available at the Quick Start Guide - Prerequisites.
- Download the MPLAB-X Scripts package from ERIKA Enterprise v3 download page.
- Extract the downloaded package (ee3_MPLAB-X_scripts_YYYYMMDD_ghNN.zip) in "C:\Evidence" folder.
- Rename extracted "ee3_MPLAB-x" folder in "erika3".
- If you do this step correctly, the file version.txt will be located in C:\Evidence\erika3\version.txt
- All the rest of this wiki page makes the assumption that you unpacked the files in the directory described above.
- Download and Install MPLAB-X IDE v4.05 for windows.
- Yes, exactly version v4.05.
- Download and Install MPLAB XC16 C Compiler v1.33 for windows.
- Yes, exactly version v1.33.
- dsPIC33EV 5V CAN-LIN STARTER KIT board connected to PC via USB cable.
Directory names - IMPORTANT
Directory names related to the location of the ERIKA3 package, the MPLAB-X, and the compiler are important.
Those directories are listed inside the file C:\Evidence\erika3\mplabx\ee3_cfg.bat
Please check that the directory names in the file ee3_cfg.bat are specified correctly, otherwise the batch files needed for the compilation will not find the ERIKA3 directory tree, the compiler, or the MPLAB-X environment.
Note: if you used exactly the directories and the compiler/MPLAB-X versions listed above you do not need to change ee3_cfg.bat .
MPLAB-X IDE User Makefile Project
Project Creation
As the first step, we create a new MPLAB-X Project.
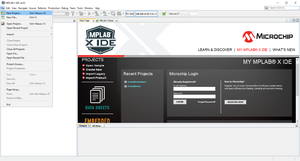
- Click on File->New Project... menu entry as shown in the following figure:
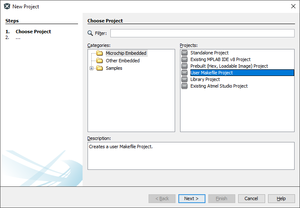
- The MPLAB-X IDE Project Wizard will open as shown in the following figure:
- Select Microchip Embedded folder into Categories Panel.
- Select User Makefile Project project into Projects Panel.
- Click on Next > button.
Device Selection
We need to select the right microcontroller.
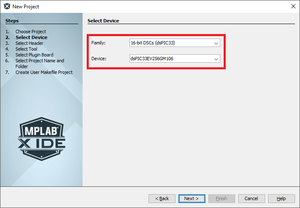
- The wizard will show the window to select the Device as shown in the following figure:
- Select the correct device: 16-bit DSCs (dsPIC33) and dsPIC33EV256GM106.
- Click on Next > button.
Tool Selection
We need to select the right debugging tool.
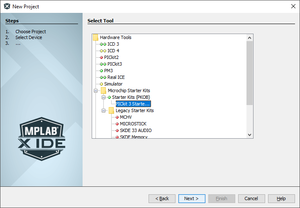
- The Wizard will show the available debugging tools as shown in the following figure:
- Select the correct tool: PICKit 3 Starter Kit....
- Click on Next > button.
Project Name and Folder
We need to select the Project folder.
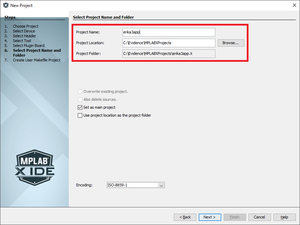
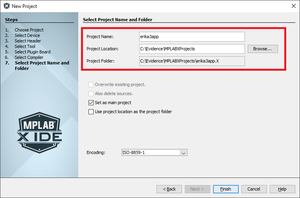
- The Wizard will show the project name and folder as shown in the following figure:
- Fill the Project Name field (e.g erika3app).
- Browse the Project Loaction (e.g. C:\Evidence\MPLABXProjects)
- Click on Next > button.
User Makefile Creation
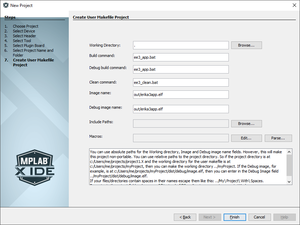
Finally, we need to specify which commands to run at each step of the build/clean process. For this purpose, Evidence prepared a set of batch scripts. Please note this is the most error-prone configuration of this kind of project. Please take special care in filling the form correctly!!!
- The wizard will show the User Makefile Creation as shown in the following figure:
- Fill Working Directory field with . (dot).
- Fill Build command and Debug build command fields with ee3_app.bat.
- Fill Clean command" field with ee3_clean.bat.
- Fill Image name and Debug image name fields with out/erika3app.elf.
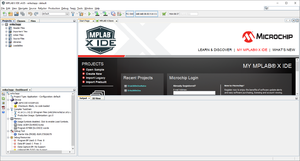
- Finally, click on the Finish button to instantiate the MPLAB-X IDE Project from with chosen options as shown in the following figure:
ERIKA v3 Scripts
The batch files have been specified in the dialog box when creating the project, but they have not been copied yet in the right place. In this step, we copy the batch files in the right place.
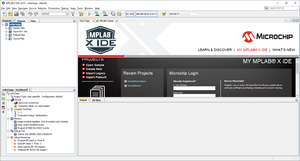
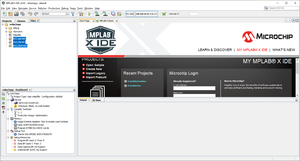
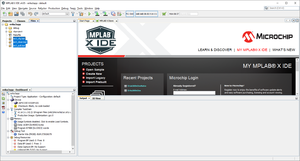
- Click on Files tab-sheet of the upper-left panel to show the Project Files as shown in the following figure:
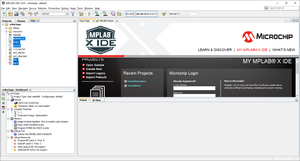
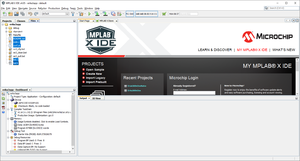
- Copy the following script files from C:\Evidence\erika3\mplabx folder into project folder as shown in the following figure:
- ee3_app.bat
- ee3_cfg.bat
- ee3_clean.bat
Tip: To easily copy files into the project workspace, click on the File tab in MPLAB-X, and then drag-drop the files from Explorer into the project dir.
ERIKA v3 Application
You can now choose one of the example applications which are part of the ERIKA3 distribution. If you unpacked the ERIKA3 package under C:\Evidence\erika3, you will have a set of examples inside C:\Evidence\erika3\examples. There is one directory per example. The idea is that, once you choose one example, you will copy all files of the specific example inside the project workspace as described below:
- Copy example source files from any C:\Evidence\erika3\examples sub-folder into project folder as shown in the following figure:
Project Build
We can now build the project. As a result of the build process, an ELF file will be created inside the out directory.
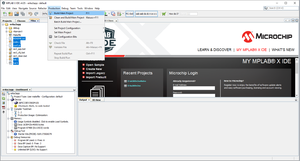
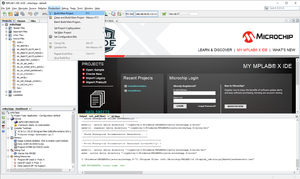
- To build the ERIKA Enterprise v3 example click on Production->Build Main Project menu entry as shown in the following figure:
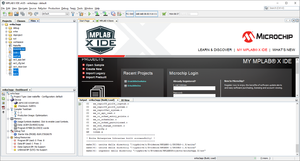
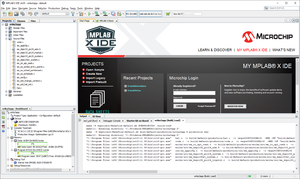
- The build project process starts as shown in the following figure:
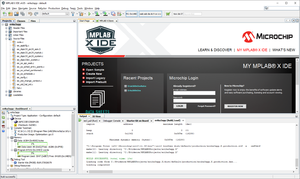
- Finally the build process ends successfully as shown in the following figure:
Tip: the location of the ELF binary is out/erika3app.elf.
Project Debug
You can also debug the program using the in-circuit debugger provided by Microchip (as usual debugging the application in the presence of interrupts may not be simple).
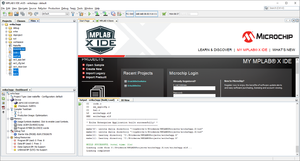
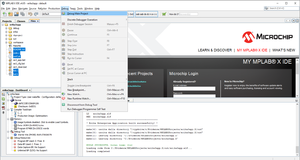
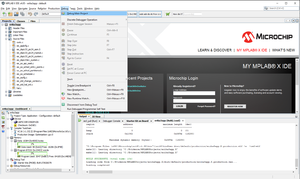
- To debug the ERIKA Enterprise v3 example click on Debug->Debug Main Project menu entry as shown in the following figure:
- The build project process starts as shown in the following figure:
- The build process ends successfully as shown in the following figure:
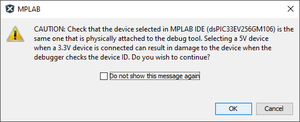
- The Device Voltage dialog window may appear as shown in the in the following figure:
- Click on the OK button to let program the device as shown in the following figure:
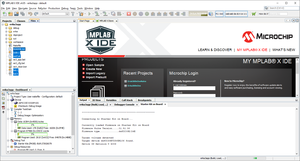
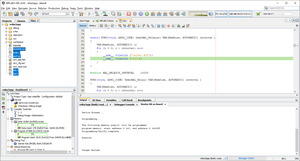
- Finally the programming process ends successfully and the application runs as shown in the following figure:
- Click into Pause button to debug the application as shown in the following figure:
MPLAB-X IDE Standalone Project
Project Creation
As the first step, we create a new MPLAB-X Project.
- Click on File->New Project... menu entry as shown in the following figure:
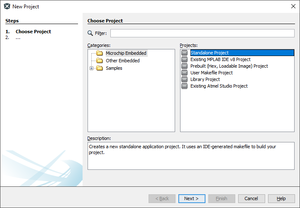
- The MPLAB-X IDE Project Wizard will open as shown in the following figure:
- Select Microchip Embedded folder into Categories Panel.
- Select Standalone Project project into Projects Panel.
- Click on Next > button.
Device Selection
We need to select the right microcontroller.
- The wizard will show the window to select the Device as shown in the following figure:
- Select the correct device: 16-bit DSCs (dsPIC33) and dsPIC33EV256GM106.
- Click on Next > button.
Tool Selection
We need to select the right debugging tool.
- The Wizard will show the available debugging tools as shown in the following figure:
- Select the correct tool: PICKit 3 Starter Kit....
- Click on Next > button.
Compiler Selection
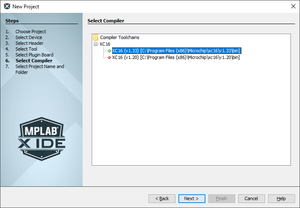
You need to select the right C compiler. Version 1.33 works.
- The Wizard will show the available compilers as shown in the following figure:
- Select the correct compiler: XC16 (v1.33).
- Click on Next > button.
Project Name and Folder
We need to select the Project folder.
- The Wizard will show the project name and folder as shown in the following figure:
- Fill the Project Name field (e.g erika3app).
- Browse the Project Loaction (e.g. C:\Evidence\MPLABXProjects)
- Finally, click on the Finish button to instantiate the MPLAB-X IDE Project from with chosen options as shown in the following figure:
ERIKA v3 Scripts
We now need to copy the scripts inside the project workspace.
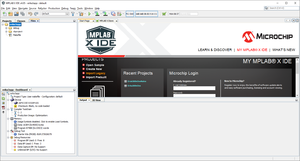
- Click on Files tab-sheet of the upper-left panel to show the Project Files as shown in the following figure:
- Copy the following script files from C:\Evidence\erika3\mplabx folder into project folder as shown in the following figure:
- ee3_pull.bat
- ee3_cfg.bat
- ee3_clean.bat
ERIKA v3 Application
You can now choose one of the example applications which are part of the ERIKA3 distribution.
- Copy example source files from any C:\Evidence\erika3\examples sub-folder into project folder as shown in the following figure:
ERIKA v3 Pull
We now need to run the pull process. As a result of the pull process, the RT-Druid configurator is run, the configuration of ERIKA3 is generated, and the ERIKA3 files are copied in the current workspace.
Please note that you need to MANUALLY re-run this step if you modify the OIL File!
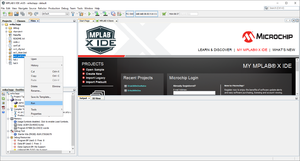
- Right-Click on the ee_pull.bat file in the project and select Run context-menu entry to pull ERIKA Enterprise v3 into project as shown in the following figure:
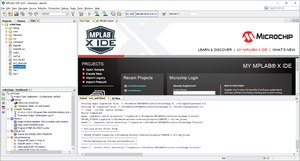
- The pull process starts as shown in the following figure:
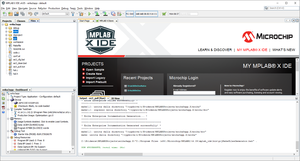
- The pull process ends successfully as shown in the following figure:
Adding the Source Files
After the pull procedure ended, you end up with all the files you need to compile inside the project workspace. A the last step, you need to add those files inside the MPLAB-X project, in order to let MPLAB-X recognize and compile them.
Application Source Files
- Click on Projects tab-sheet of the upper-left panel to show the Project Folders.
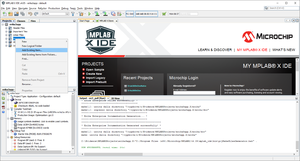
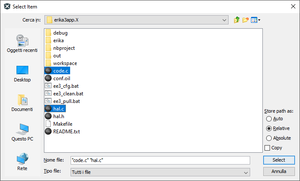
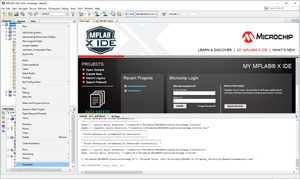
- Right-Click on the Source Files folder in the project and select Add Existing Item... context-menu entry to add source files into project build system as shown in the following figure:
- From the project root select application source files and then click Select button as shown in the following figure:
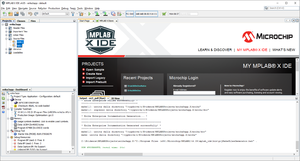
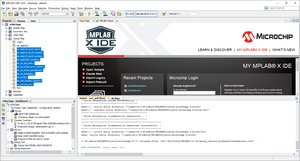
- The application source files will be added to project source files folder as shown in the following figure:
Application Configuration Source File
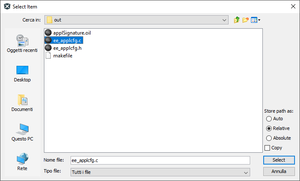
- Right-Click on the Source Files folder in the project and select Add Existing Item... context-menu entry to add source files into project build system as shown in the following figure:
- From the project out sub-folder select ee_applcfg.c source files and then click Select button as shown in the following figure:
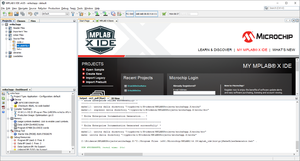
- The application configuration source files will be added to project source files folder as shown in the following figure:
ERIKA v3 Source Files
- Right-Click on the Source Files" folder in the project and select Add Existing Item... context-menu entry to add source files into project build system as shown in the following figure:
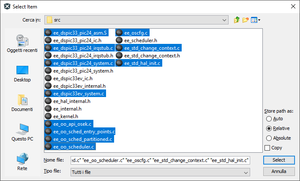
From the project erika/src sub-folder select all *.c and all *.S source files and then click Select button as shown in the following figure:
- The ERIKA Enterprise v3 source files will be added to project source files folder as shown in the following figure:
ERIKA v3 Include Files
You now need to add all include paths for the C language compilation.
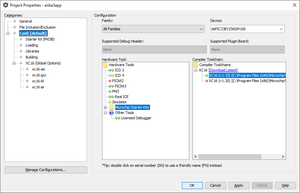
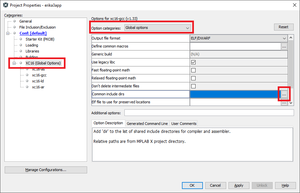
- Right-Click on the project and select Properties context-menu entry as shown in the following figure:
- The Project Properties dialog window will open as shown in the following figure:
- Select XC16 (Global Options) from the Categories: panel.
- Select Global Options from the Option categories:".
- Click on the '...' button of Common include dirs as shown in the following figure:
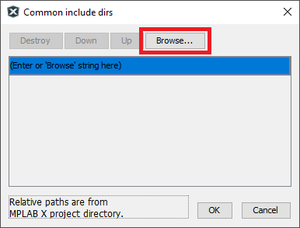
- The Common include dirs dialog window will appear as shown in the following figure:
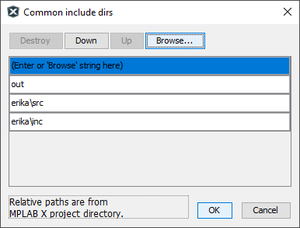
- Click on the Browse... button to add the followings include dirs:
- out
- erika\src
- erika\inc
- Then click on the OK' button as shown in the following figure:
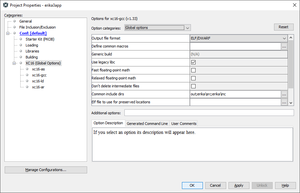
- The ERIKA v3 include dirs will be added, then click OK to confirm as shown in the following figure:
Project Build
We can now build the project. As a result of the build process, an ELF file will be created inside the out directory.
- To build the ERIKA Enterprise v3 example click on Production->Build Main Project menu entry as shown in the following figure:
- The build project process starts as shown in the following figure:
- Finally the build process ends successfully as shown in the following figure:
Tip: the location of the ELF binary is out/erika3app.elf.
Project Debug
You can also debug the program using the in-circuit debugger provided by Microchip (as usual debugging the application in the presence of interrupts may not be simple).
- To debug the ERIKA Enterprise v3 example click on Debug->Debug Main Project menu entry as shown in the following figure:
- The build project process starts as shown in the following figure:
- The build process ends successfully as shown in the following figure:
- The Device Voltage dialog window may appear as shown in the in the following figure:
- Click on the OK button to let program the device as shown in the following figure:
- Finally the programming process ends successfully and the application runs as shown in the following figure:
- Click into Pause button to debug the application as shown in the following figure:
Additional Notes
T.B.D.
