Cygwin
Contents
Synopsys
This guide describes the download and installation process of Cygwin, a collection of GNU and Open Source tools, needed to build ERIKA Enterprise v3 applications.
Download
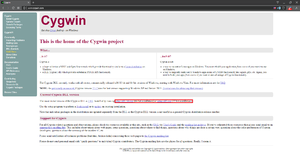
- Launch your favourite web browser and go to the Cygwin website as shown in the following figure:
- Click on setup-x86.exe to download the Cygwin 32-bit installation program or click on setup-x86_64.exe to download the Cygwin 64-bit installation program according to the type of your Windows OS installation.
Installation
- Double-Click on the Cygwin installation program that you downloaded during the previous steps:
- setup-x86.exe for 32-bit.
- setup-x86_64.exe for 64-bit.
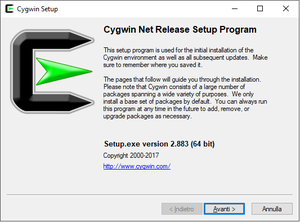
- The Cygwin installation program starts as shown in the following figure:
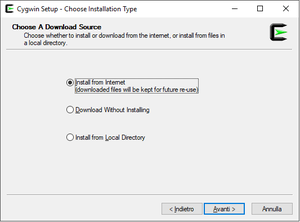
- Click on the Next (Avanti in the Italian Language) button to choose a download source as shown in the following figure:
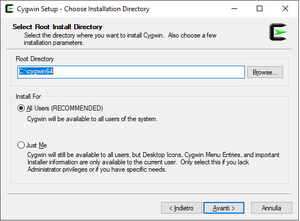
- Make sure that the Install from Internet download source is selected and that your Internet connection is fully working. Then, click on the Next (Avanti in the Italian Language) button to choose the installation directory as shown in the following figure:
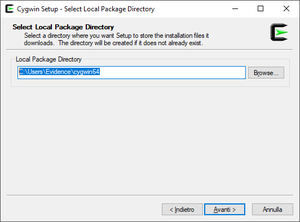
- Browse the File-System to select the Root Directory where to install Cygwin and then click on the Next (Avanti in the Italian Language) button to select the local package directory as shown in the following figure:
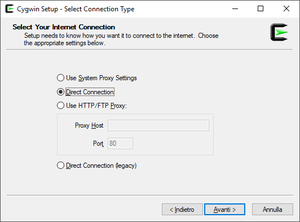
- Browse the File-System to select the Local Package Directory where to download the Cygwin packages and then click on the Next (Avanti in the Italian Language) button to select the connection type as shown in the following figure:
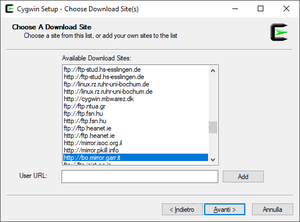
- Select the type of your Internet connection and then click on the Next (Avanti in the Italian Language) button to choose the download site as shown in the following figure:
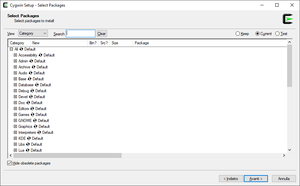
- Choose a Cygwin download site near to you and then click on the Next (Avanti in the Italian Language) button to select additional Cygwin packages from the distribution as shown in the following figure:
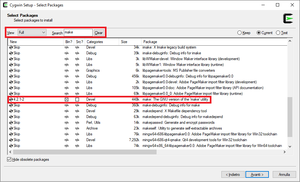
- Select Full in the View scroll-down menu and then type make in the Search text-box.
- Scroll down the list of additional Cygwin packages to locate the make: The GNU version of the 'make' utility and click on the Skip column to add the make utility to Cygwin distribution as shown in the following figure:
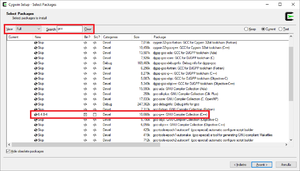
- Select Full in the View scroll-down menu and then type gcc in the Search text-box.
- Scroll down the list of additional Cygwin packages to locate the gcc-g++: GNU Compiler Collection (C++) as shown in the following figure:
- As Optional Step you can add Doxygen package to the Cygwin distribution (required to generate the ERIKA Enterprise v3 documentation) or you can install the stand-alone version of Doxygen as described in this guide
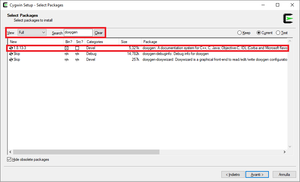
- Select Full in the View scroll-down menu and then type doxygen in the Search text-box.
- Scroll-down the list of additional Cygwin packages to locate the doxygen: A documentation system for C++, C, Java, Objective-C, IDL(Corba and Microsoft flavours)... and click on the Skip column to add the Doxygen utility to Cygwin distribution as shown in the following figure:
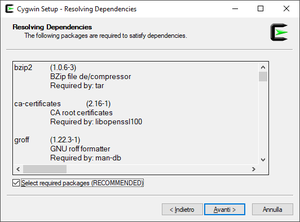
- When you finished adding additional packages to the Cygwin distribution, click on the Next (Avanti in the Italian Language) button to resolve the distribution dependencies as shown in the following figure:
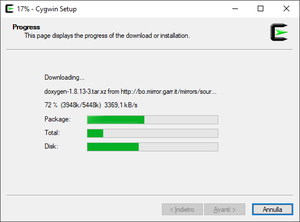
- Click on the Next (Avanti in the Italian Language) button to start the Cygwin distribution download and installation process as shown in the following figure:
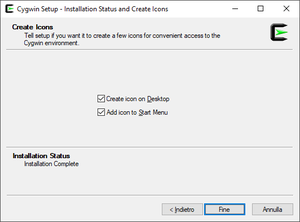
- After the installation process ends, the Cygwin Installation Status and Create Icons window appears as shown in the following figure:
- Finally, you can choose to Create an icon on the desktop and/or to Add the Cygwin icon Start Menu.
- After that, click on the Finish (Fine in the Italian Language) button to complete the Cygwin installation process.
Additional Notes
Common problem in the installation
A user reported that the installation of AVRStudio included a version of Cygwin. In some situations, the compilation of ERIKA3 projects from Eclipse do not work because the make command used by Eclipse is not the Cygwin one but the AVR one. The typical evidence for this is that the error message of the build included some "windows pathname" C:\... (which is wrong), instead of a "cygwin pathname" /cygdrive/c/... (which is correct).
In that case, please check the Project properties (by right-clicking on the project name, and check whether the Cygwin base location is correct, as in the picture below:
In case it is not correct, one way of solving the issue is to override the cygwin environment variable in the workspace properties, by going on Windows / Preferences, and adding an override for the CYGWIN_HOME directory as shown in the picture below:
